The clutter in most rooms is not a willpower problem. It is a container problem. Stuff lands on the floor, the chair, the corner of the closet because there is nowhere obvious to put it. You know roughly where it should go, but the destination does not exist yet. That is what this guide fixes. I have gone through this process in my spare room, my entryway closet, my garage corner, and my utility room, and every single time the result was the same: the room looked 80 percent better before I even labeled anything.
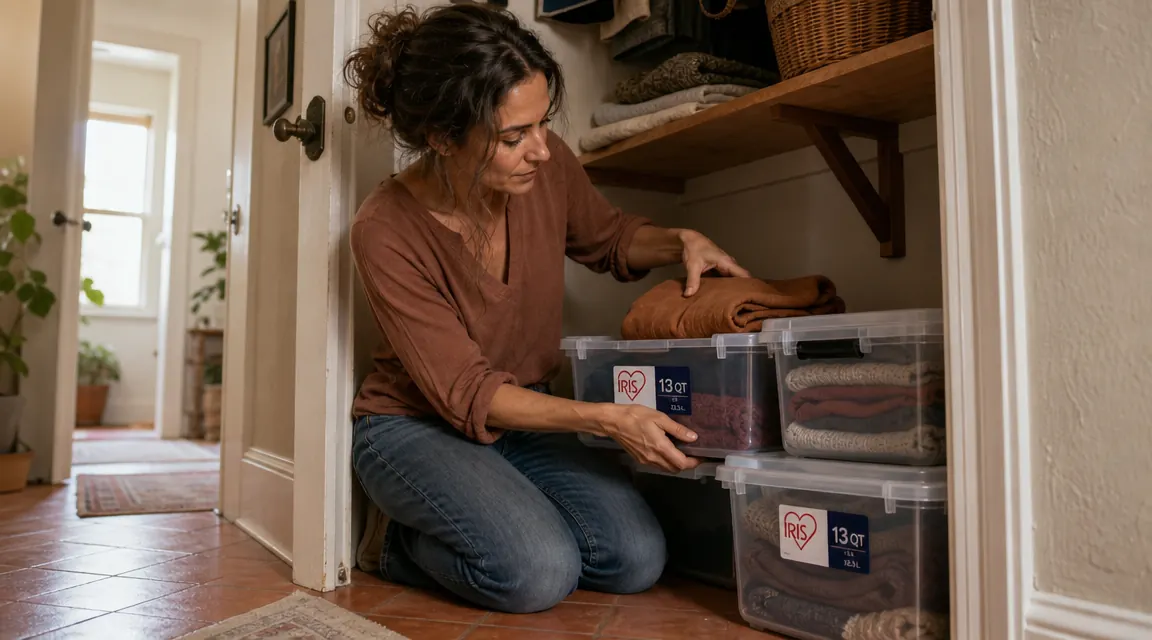
The tool that made it repeatable is the IRIS USA 13 QT latch-lid bin. It is not the most exciting thing I have ever bought, but it stacks straight, the lid latches securely under load, and the plastic is clear enough to see contents without squinting. A six-pack runs under $35, which means you can clear a whole closet for less than the price of a decent lunch out. I keep a spare six-pack in the back of my car now because I know I will use them.
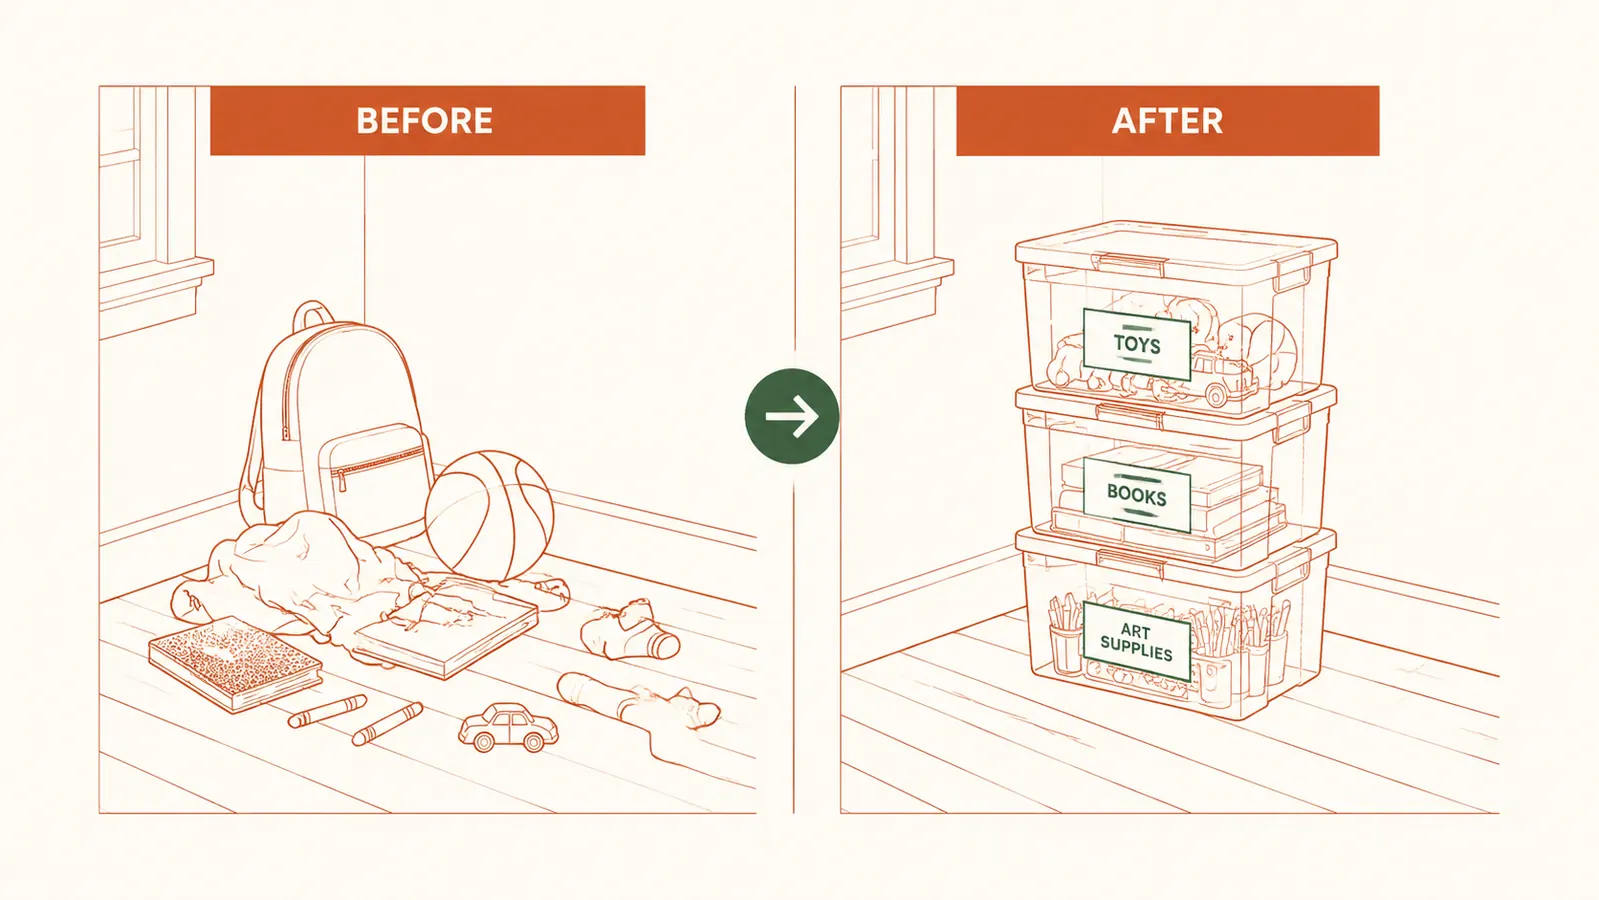
If your floor is your default storage system, these bins fix that today.
The IRIS USA 13 QT latch-lid bins come in a six-pack, stack up to eight units high without wobbling, and fit standard closet shelves. Over 26,000 reviewers have put them through daily use. Check current availability and pricing before starting this project.
Amazon Check Today's Price on Amazon →Step 1: Pull Everything Out of the Space First
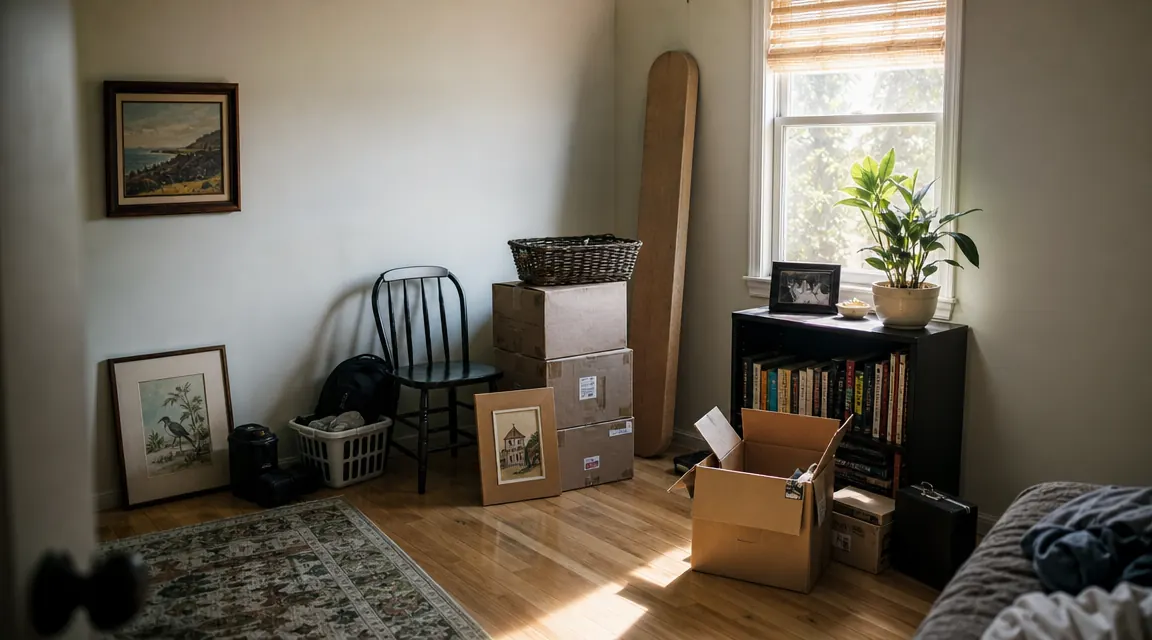
This is the step most people skip, and it is why they end up with a half-organized room that slowly reverts to chaos in three weeks. Before you buy a single bin or touch a label maker, drag everything out of the space and put it in the hallway or on the bed. Every bag, every box, every item shoved behind something else. You need to see the full inventory before you can decide how many bins you need and what categories make sense.
Do not try to sort while you pull things out. That is how you end up sitting on the floor at midnight surrounded by half-empty shampoo bottles and old charger cables. Just clear the space completely. The empty room or closet will feel overwhelming for about thirty seconds, and then it will start to feel like possibility. That is the feeling you are building toward.
While the space is empty, do a quick visual check of the walls and shelves. Are there any hooks, brackets, or shelves that do not serve you? A closet rod you never use? A built-in shelf that is the wrong height for anything you own? Note what is already there before you start building a system around it.
Step 2: Sort Into Categories Before You Sort Into Bins
Pile things into rough groups on the floor: holiday items in one pile, seasonal clothing in another, craft supplies, sports gear, cleaning products, whatever applies to your room. Do not overthink the categories at this stage. A broad grouping is fine. You are looking for natural clusters, not a filing system. If something belongs in two categories, put it in the one you will look for it in first.
I use the three-pile rule when I am moving fast: keep, donate, trash. Everything gets an immediate decision. If I have not touched something in a year and I cannot name a specific occasion when I will, it goes in the donate pile. This step usually cuts the total volume by 20 to 40 percent before a single bin is opened. Fewer items means fewer bins, which means less money spent and more vertical space left over.
Count your piles once they are stable. A pile that fills a kitchen trash bag is roughly two to three 13 QT bins depending on density. Bulky items like sweaters or throw pillows will fill a bin fast. Dense items like tools or canned goods will leave space. Buy one or two extra bins beyond your estimate, because you will always find a category you missed.
Step 3: Load the Bins and Test the Stack
Each IRIS USA 13 QT bin holds roughly the equivalent of a medium shoebox worth of items if you are packing them densely, or a little more if the contents are loosely shaped. Fold flat items before placing them in. Keep the heaviest items in the bottom bin of any stack, not the top. A stack of three bins with a heavy bin on top will wobble when you grab the lid.
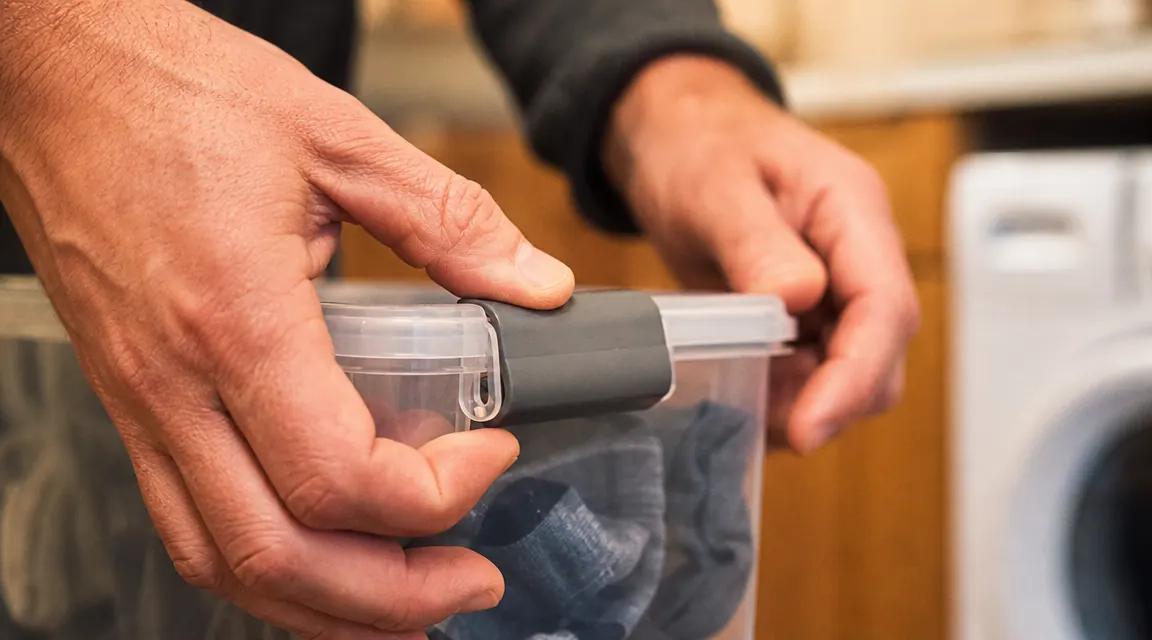
The latch mechanism is the detail that matters most on these bins. Press the lid down until you hear and feel both latches click into place on each side. If one side does not click, the lid will bow in the middle under stacking weight, and a bin above it will sit crooked. I have had exactly one latch arrive stiff enough to require a firm push to seat properly. That one resolved after a few uses as the plastic warmed up. On the other five bins in my first pack, the latches seated immediately.
Stack height depends on what you are stacking and where. On a flat shelf with overhead clearance, these bins go five to six high without issue. On the floor, I stop at three in a high-traffic area because anything above shoulder height becomes a nuisance to access. Think about frequency of access when you plan your stack. Things you grab weekly live at eye level. Seasonal items go up top.
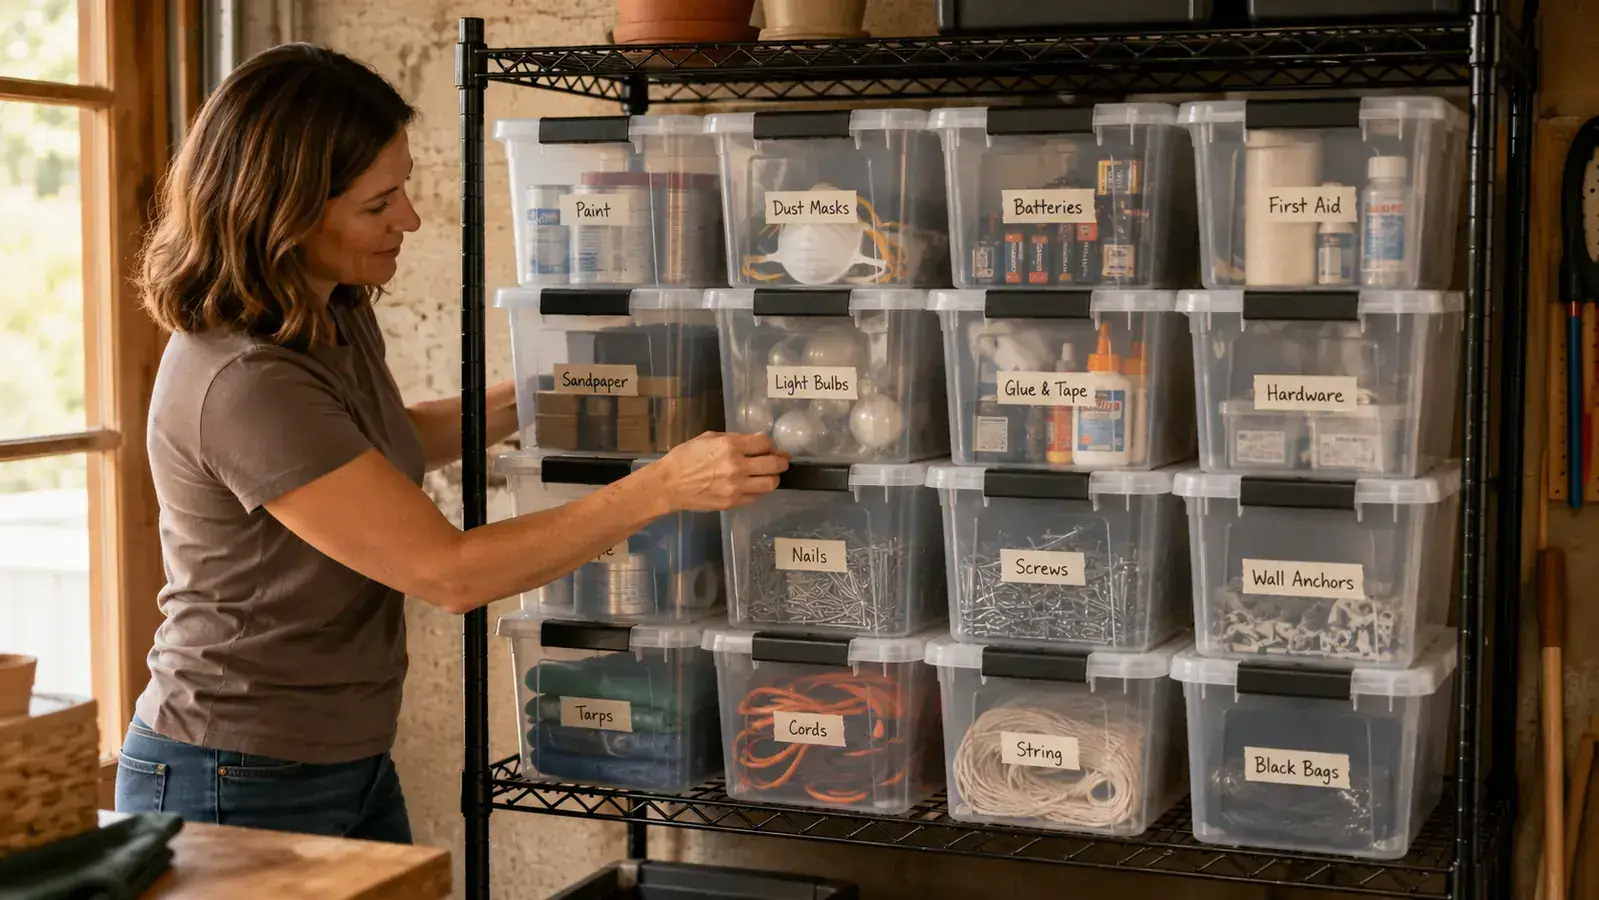
Step 4: Label Everything Before You Put It Away
Labeling is the step that separates a system from a pile with a lid. An unlabeled bin of holiday decorations looks identical to an unlabeled bin of birthday supplies. Three months from now, you will not remember which is which without opening both. Label the front face of each bin, not the lid. Lids face up when stacked, which means you cannot read them without unstacking everything.
You do not need a label maker at this stage, though a DYMO LetraTag makes the labels look clean and peel off cleanly if you reorganize later. A strip of masking tape with a marker works fine for a first pass. Write the main category and any key sub-items if the bin is a catch-all. 'Winter: gloves, hats, scarves' is more useful than just 'Winter' when you are standing in a cold entryway looking for specific items in January.
Step 5: Place the Bins and Lock In the System
Put the bins back into the space with purpose. Most-used categories go at waist to eye level and closest to the door or access point. Seasonal and rarely-accessed bins go high or deep. Leave one bin's worth of space open in your initial arrangement. That open slot is for overflow and for the inevitable category you forgot until three weeks after you finish. If you fill your shelf to capacity on day one, you have nowhere to expand, and the system breaks the first time something new needs a home.
Measure the space before you commit to a final configuration. The IRIS USA 13 QT bins are 13.6 inches long, 8.6 inches wide, and 5.1 inches tall. A standard 12-inch deep shelf is just shallow enough that the bins sit with a slight overhang, which is fine for closet shelves with a lip but awkward for floating shelves without one. On 14-inch-deep shelves and deeper, they sit flush. I keep a tape measure in my car now because I have made the mistake of buying bins for a space I did not measure twice.
Once everything is placed, walk away from the room for a day. Come back and see if the categories feel right in practice. Did you reach for the 'junk drawer overflow' bin three times in one day? Maybe that category needs to move closer. Did the 'holiday' stack gather dust for six months? That one can go on the highest shelf. Adjust after a week of use rather than trying to get it perfect before you ever live with the system.
What Else Helps
The bins handle containment, but a few other habits lock in the result. A label maker takes your system from functional to transferable: anyone in the house can find and return items without asking you. A simple rule that every item must go back in its bin before bed prevents the slow creep of floor piles. And a quarterly audit, which takes about twenty minutes, catches the bins that are quietly becoming junk drawers again. Open each one, pull anything that does not belong, and redistribute. That one habit is the difference between a room that stays clear and a room that needs to be decluttered all over again every year.
The first time I put a labeled bin back on the shelf and knew exactly where to look for it two months later, I realized the problem was never the clutter. It was the missing destination.
Ready to give every category a home? Start with a six-pack.
The IRIS USA 13 QT latch-lid bins are the workhorse of this system. BPA-free, stackable up to eight high, and clear enough to see contents without opening. Grab a six-pack and have every bin filled and labeled by end of day. See the current price and in-stock status on Amazon.
Amazon Check Today's Price on Amazon →